Halifax Pictures
The pictures below were provided by the RCAF Memorial Museum and show the
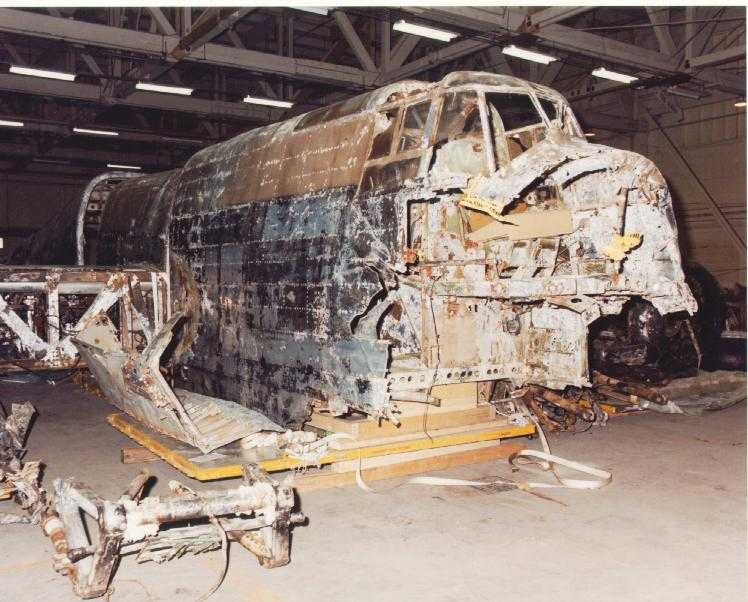
Halifax laid out temporarily in #7 Hangar, just after arriving,
and prior to any restoration taking place.
Clicking on any of the pictures will load the full resolution version.
NOTE: the full resolution pictures from this page are quite large
(approx. 100Kb) and may take considerable time to download, however the
detail is very good).

|
View inside the fuselage, looking forward from where the
fuselage had broken in half during the ditching - about where the boarding
hatch was. The grease-penciled "Mk VII" written on the
mounting for the mid-upper turret was apparently there when this Halifax was
recovered, so was probably applied at the factory. Another interesting
point is the round hole in the plywood floor - in bomber versions, H2S radar
would have stuck through this hole, extending down into the bulged antenna
cover on the underbelly. On the Halifax A.VII, however, this was simply a
wide open hole. When air-dropping cargo, a crew member or two shoved
freight out through this hole. Parachute lanyards were attached to rings on
the fuselage frames.
|
 |

|
Looking back along the starboard fuselage side at around the cockpit
position
|
Starboard stabilizer parts laid out, with fuselage in background
|
 |

|
Starboard front 3/4 view of the entire aircraft as it was laid out, seen
from above.
|
One of the donated Lancaster/Halifax wheels to take the place of the
originals that weren't recoverable, and one of the engines
|
Last modified: