Our thanks to David Askett for allowing us to use his photos.
NOTE: Click on the photos for a larger view
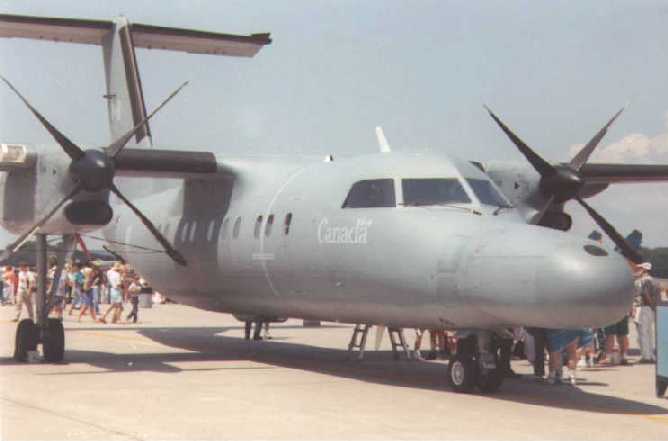
Photo by: David Askett